NAT(Network Address Translation)
Prepared by:- Sharad Kevadiya, Sakina Kuterwadli


Table of contents
What is NAT?
NAT or Network Address Translation allows multiple computers on a private network to share a common IP to access the Internet. One set of IP addresses is used inside the organization and the other set is used by it to present itself to the internet. This helps to improve security and decrease the number of IP addresses an organization needs.

Need of NAT
The main reason behind the need for NAT is IP conservation. There are billions of devices interacting and accessing the internet at the very moment. For a device to communicate over the Internet, we are required to get each of the IP addresses accessible to the Internet. But due to a lack of IPv4 IP address space, it is hard to handle the massive number of devices we use every day.NAT allows us to represent all internal devices as a whole with the same public address available. Together with its extension named port address translation, the network address translation can conserve IP addresses.
Safety, another issue we may concern when accessing the external internet, can partly be addressed by network address translation which servers as a strict controller of accessing resources on both sides of the firewall.
Configuration
By implementing the steps mentioned below you can configure Ubuntu VM as a static NAT server.
Step 1: Install all required packages
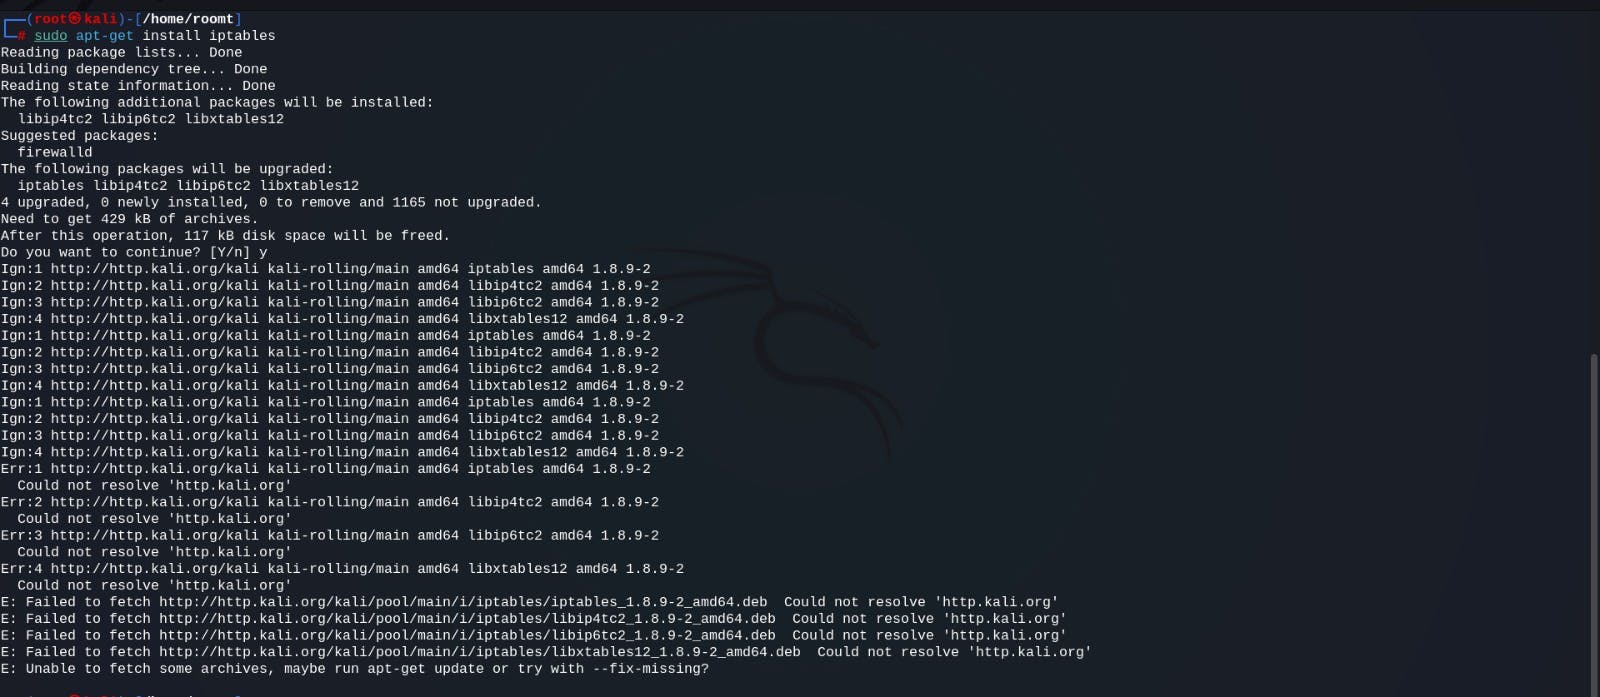
Firstly we need to install the Linux firewall iptable package for configuring NAT. This command will install all the required packages.
sudo apt-get install iptables
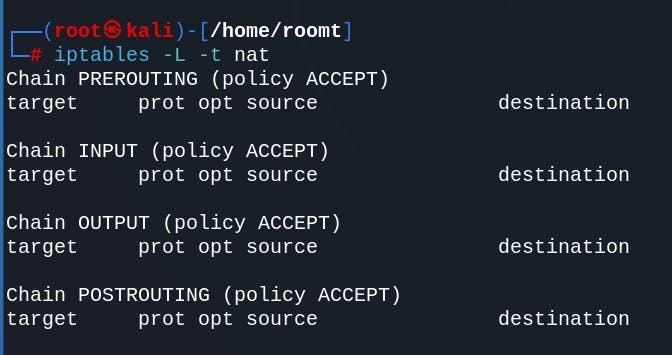
iptables -L -t nat
Step 2: Enable IP Forwarding
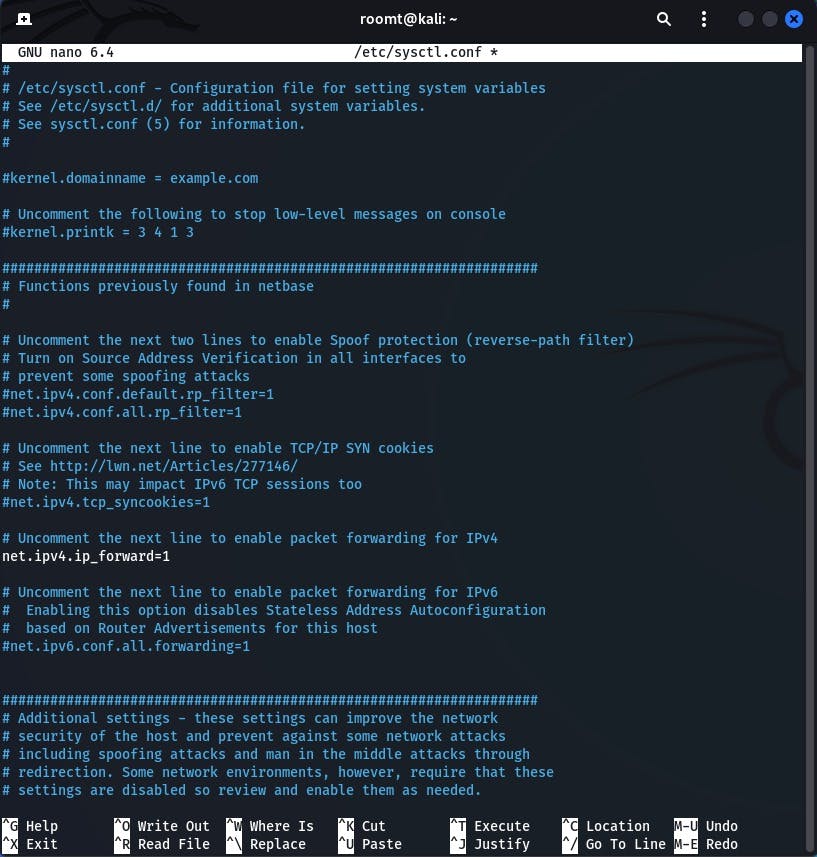
IP forwarding is disabled in Ubuntu, we need to enable it. We can do this by editing the 'etc/sysctl.conf' file. Open the file in a text editor.
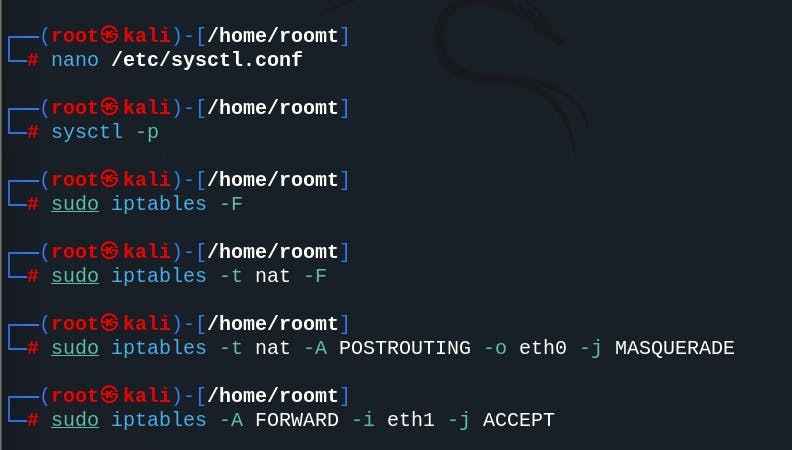
sudo nano /etc/sysctl.conf
Uncomment the line "net.ipv4.ip_forward=1" from the sysctl.conf file
Save the above file and run the following command:
sudo sysctl -p
This command will reload the modified configuration file.
Step 3: Configure IPTables
Next, we are required to configure iptables. You can do that by running the following commands:
sudo iptables -F
sudo iptables -t nat -F
The above two command removes any previous rules from the IPTable configuration.
sudo iptables -t nat -A POSTROUTING -o eth0 -j MASQUERADE
This command adds a Masquerade rule to the POSTROUTING chain of the NAT table, which allows the device to share its internet connection with other devices. This command configures the firewall for IP masquerading, which masks requests from LAN nodes with the IP address of the firewall's external device.
Replace eth0 with the device’s name connected to the internet.
sudo iptables -A FORWARD -i eth1 -j ACCEPT
The last command adds a rule to the FORWARD chain of the IPTables configuration, which allows the forwarding of packets from the local network to the internet.
Replace eth1 with the device’s name connected to the local network.
Step 4: Save IPTables Configuration
After configuring IPTables, you need to save the configuration for it to persist across reboots.
sh -c "iptables-save>/etc/iptables.rules"
This command saves the IPTables configuration in 'etc/iptables.rules' file.
Step 5: Enable IPTables on Bootnano /etc/iptables.rules
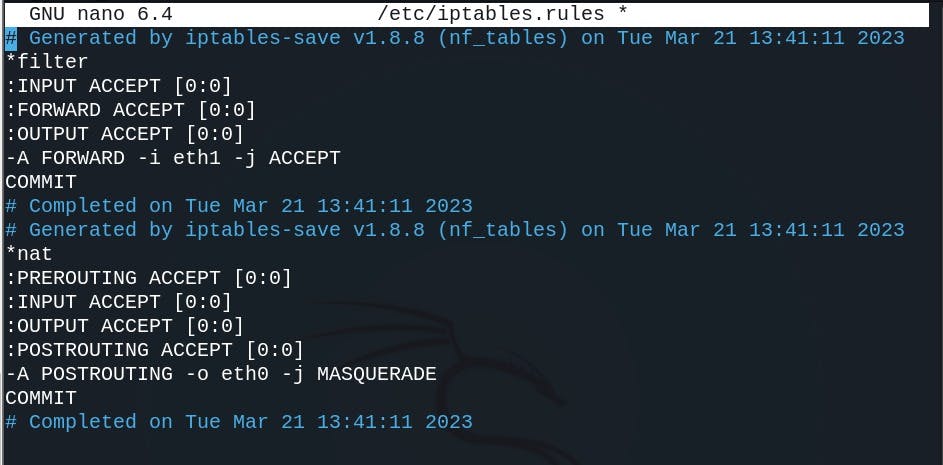
These lines tell Ubuntu to load the IPTables configuration from /etc/iptables.rules during boot and to save the configuration to the same file during the shutdown.
Apply the changes and save the above file
Finally, run the below command to list the modified NAT iptables rules:
iptables -L -t nat

Conclusion:
This configuration allows us to associate a consistent IP address with our router or NAT device. The device connected to a private network with our router will access the internet via this public IP. Large organizations have internal private LAN networks while their Wi-Fi access is configured as NAT gateways.